BORN OUT OF LIGHT
KRITA
CONCEPT
CHARACTER SHEET
In an effort to not repeat myself throughout the documentation of this project, I’ll start off by saying that every step of the process you’ll see was a first for me, a new undertaking.
And that begins with the creation of my own character.
As part of the 2D course, I was tasked to conceptualise a character from scratch, thinking about its lore and backstory, how it would look, what would it be able to do, what kind of gameplay mechanics would be attached to it or the world it lives in, what obstacles or limitations would there be, and so much more.
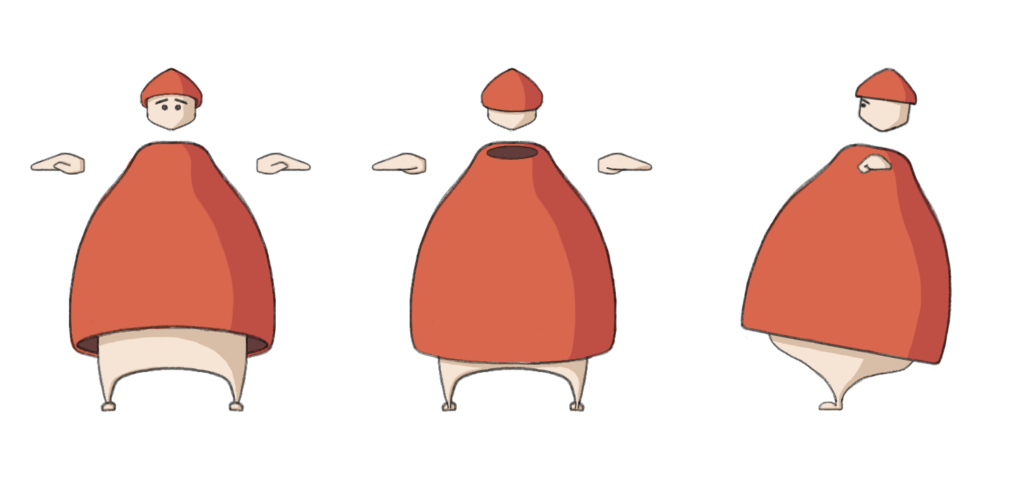
Everything started on a piece of paper, but when it eventually had to transition to digital, I used Krita and a drawing tablet as part of my toolset to create the character sheet you see above. It ended up with the name Lightborne.
ADDING DIMENSIONS
BLENDER
3D MODELLING
LOW & HIGH POLY
UV MAPPING
Once the idea of who and what this character was and the character sheet was done, it laid dormant on the computer’s HDD until it was time to jump into the 3D course a few weeks later. So the natural next step was to transition the character from a 2D drawing to a 3D model. This was done in Blender.
You can see the very first iteration of it below (left), and what eventually would end up being the final version (right). While the end result is relatively similar to the original (the removal of the legs entirely being the exception), the smaller details of the character, particularly the knob on the head and the outer shell, went through a number of iterations during the process.
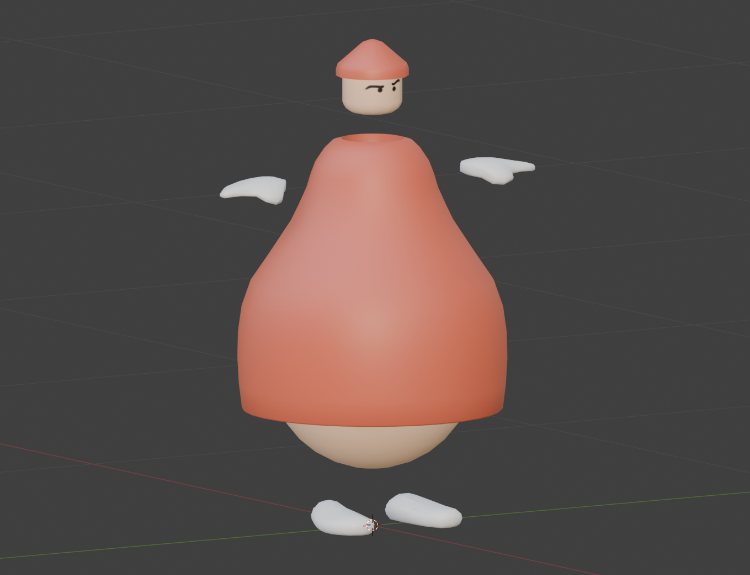
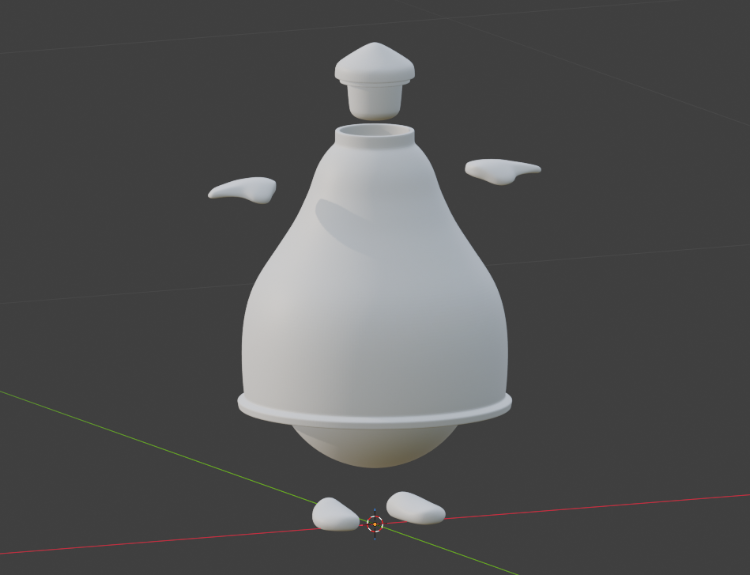
As the character was going to be part of a wider project, we decided it should undergo a low and high poly process. The image below (left) shows the two different versions, low poly to the left, high poly to the right. Another group member later used this in Substance to add a highly detailed texture to the character.
During this process, I also learned about UV Mapping. While I understand the concept of it, what it does and why it has to be done, the how was a bit less intuitive for me personally. Between a character with relatively simple shapes and a Blender add-on (UV-Packer) that helped me set the proper seams for the unwrapping, I was fortunate enough for this to be a relatively painless experience. You can see the end result in the image below (right).
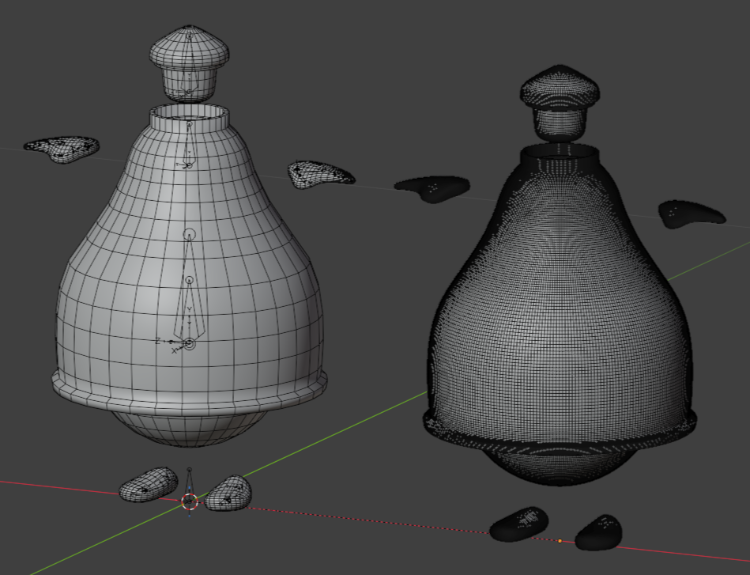
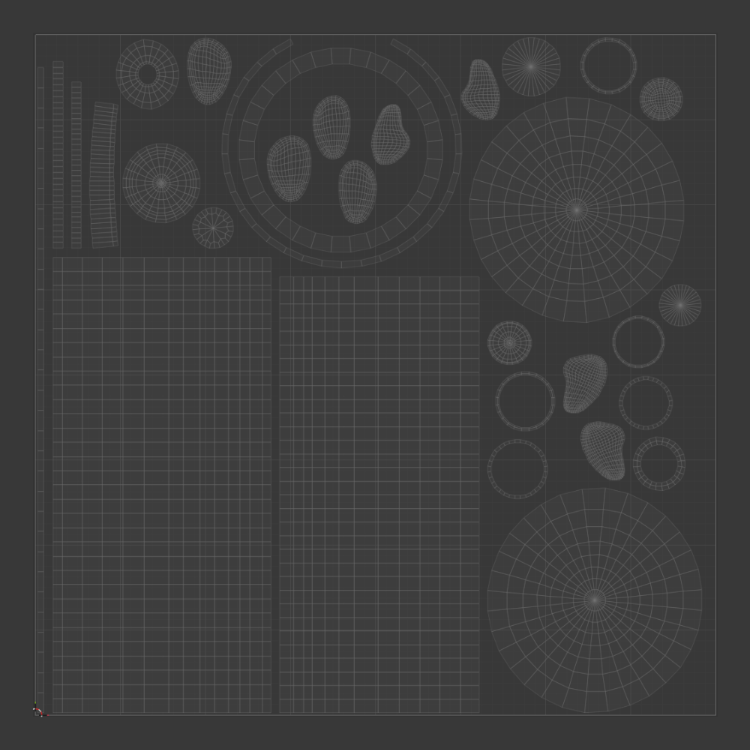
Having said that, I’m going to need to run through this process a lot more in the future to thoroughly understand it and be efficient at it, because it’s only a matter of time before a more complex character comes along that will make the unwrapping a proper challenge.
MAKING IT MOVE
BLENDER
RIGGING
ANIMATION
Once the 3D model of the character was done, it was time for the process that I really was looking forward to: Animation.
After asking my my teacher and doing some research of my own, it was clear that the rigging my character needed wouldn’t be as complex as, say, a human or some other more intricate model. But even so, adding bones to the meat still posed a challenge for a first-timer like me.
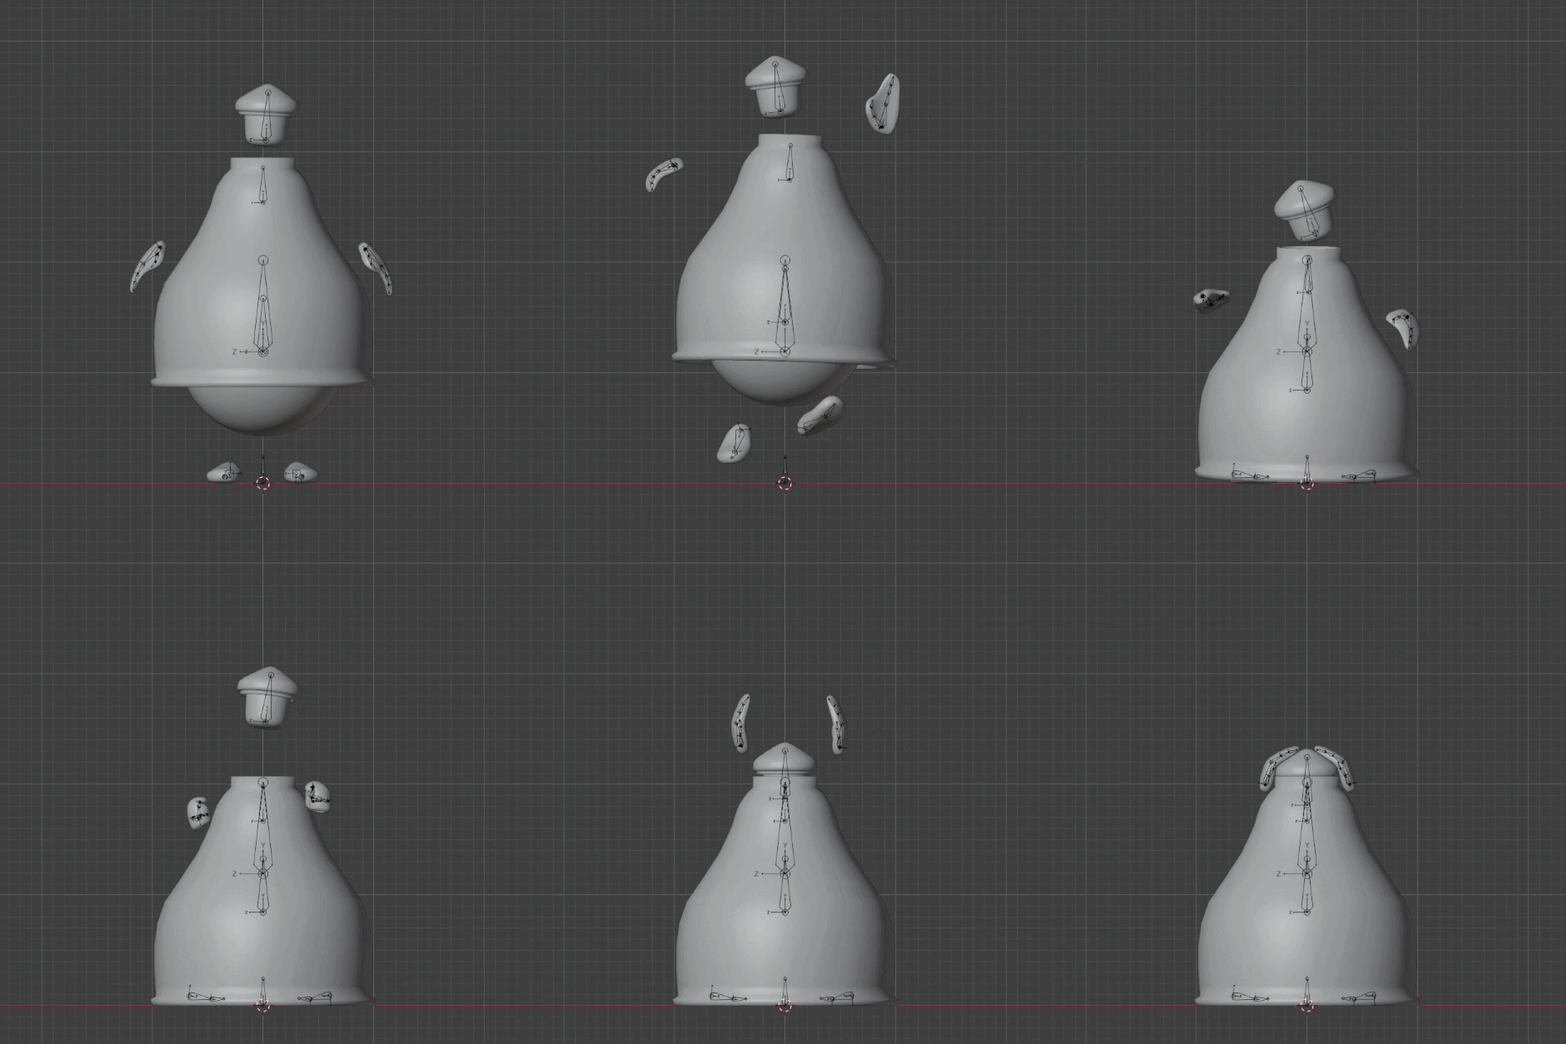
The image below shows the bone structure: Root bone, feet, body (inner sphere and other shell), hands, and head.
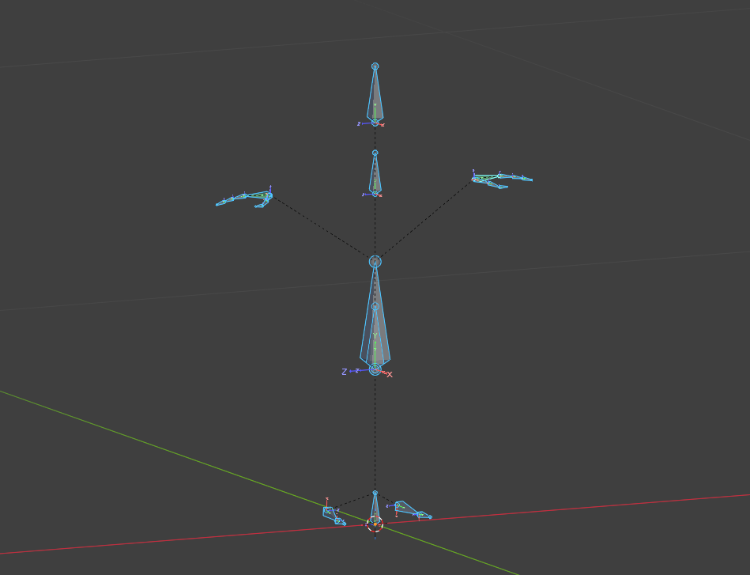
Once the skeleton was ready, it was finally time to actually bring the character to life. While the process of animating was time-consuming, obsessing over the tiniest details on a daily basis, it was every bit as fun as I’d imagined it would be to breathe life into a character, let alone one of my own creation.
The GIFs below are just a small selection of about 20 animations and experiments I did for this character and an NPC (not pictured) combined in the short amount of time we had, which included idle, dragging (objects), jumping (jump, mid-air hover, land), triggered and attack states (enemy) among others.
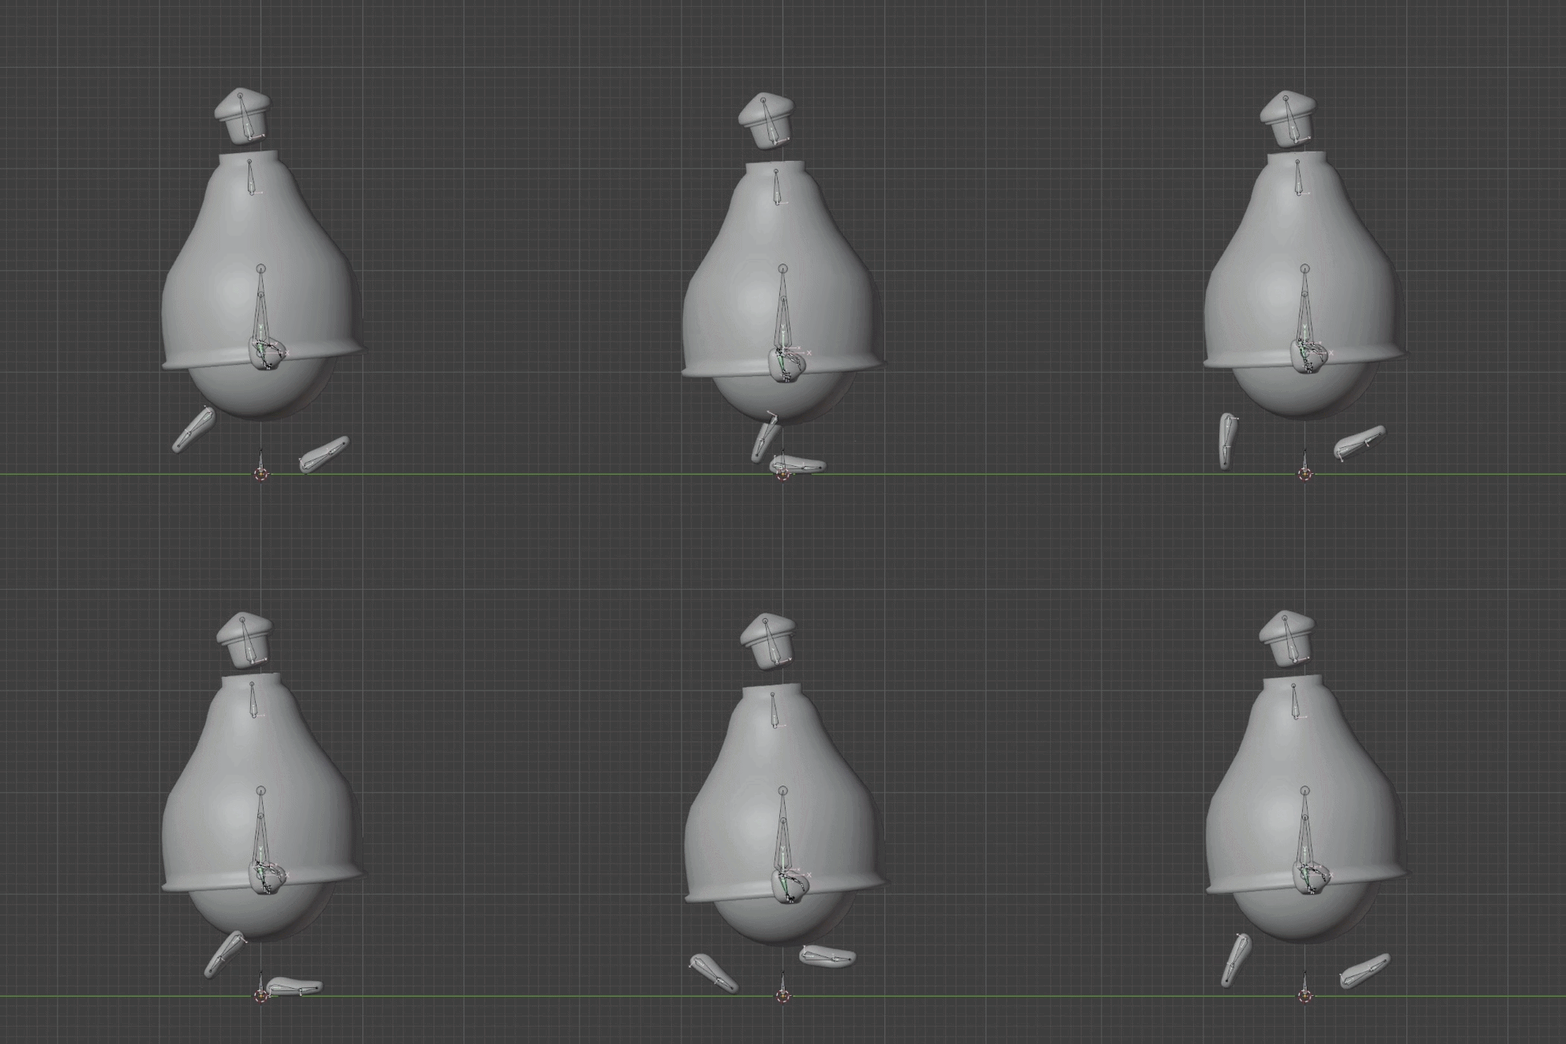
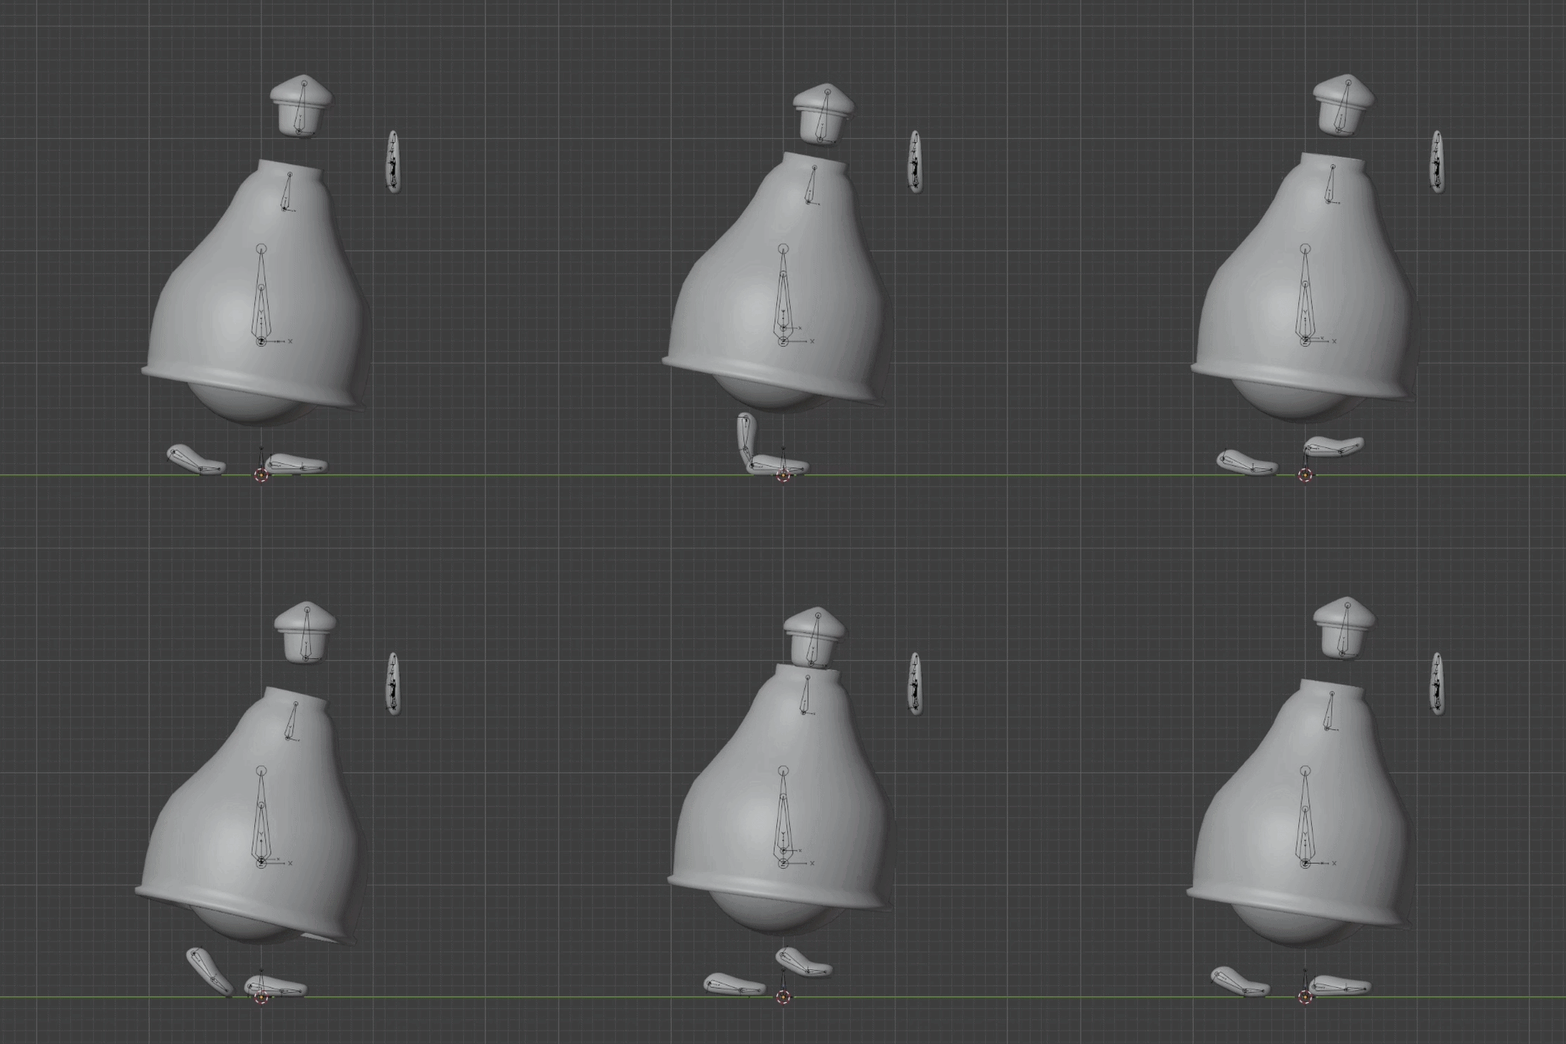
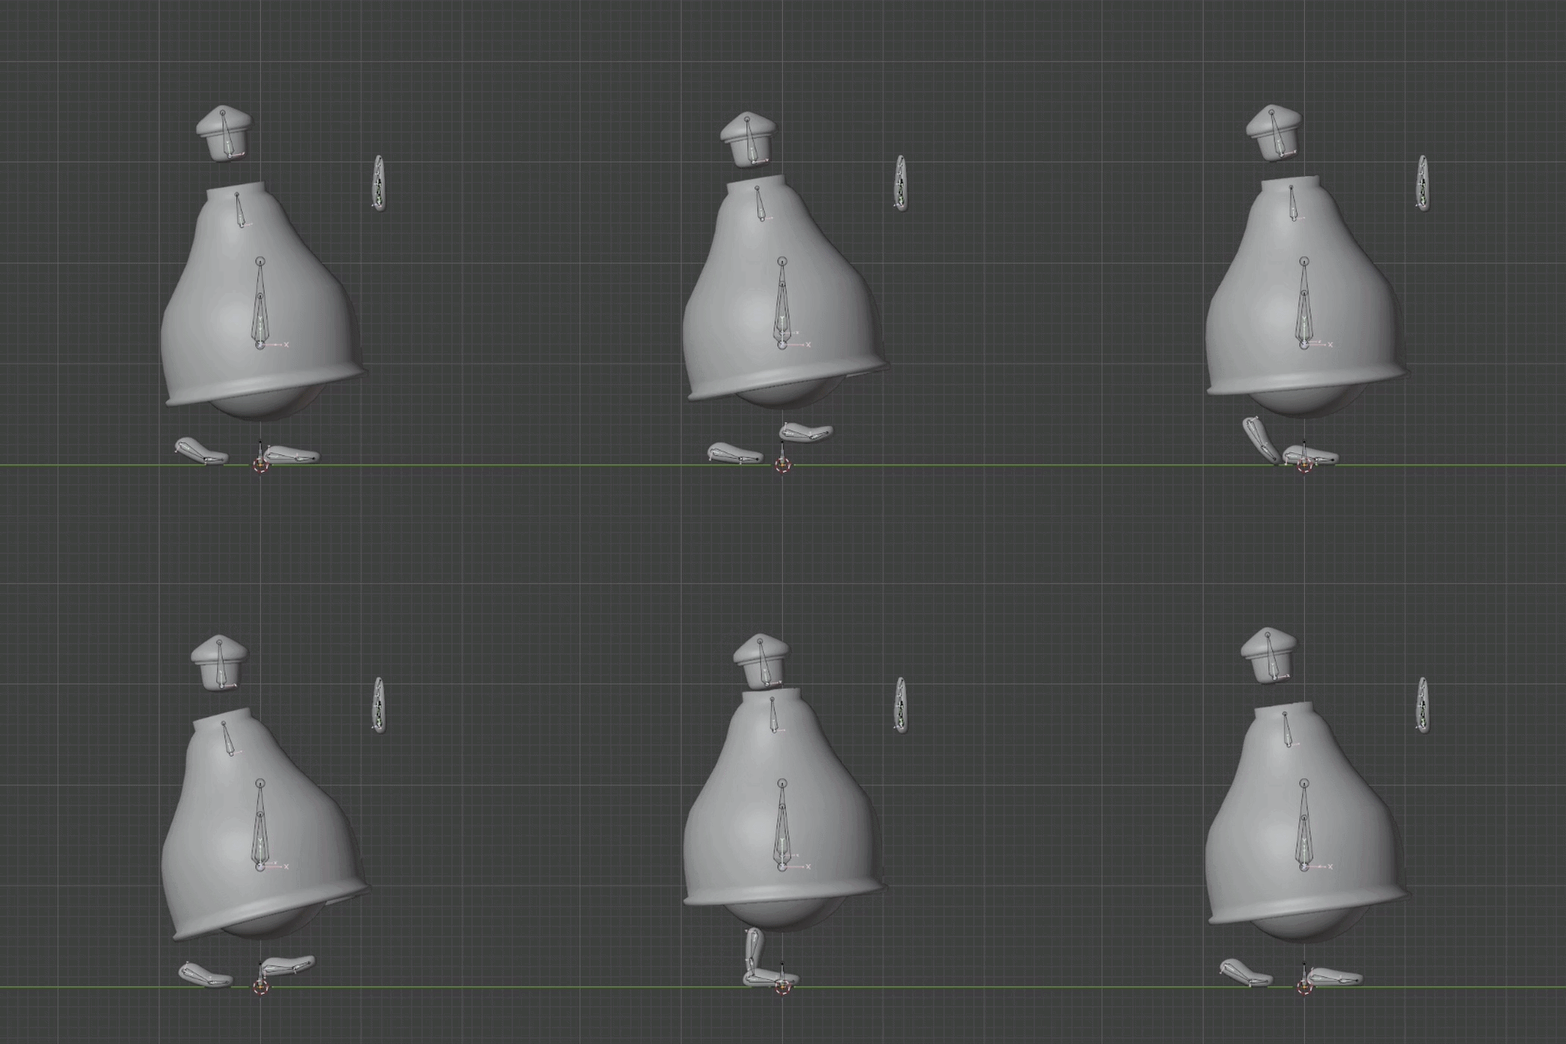
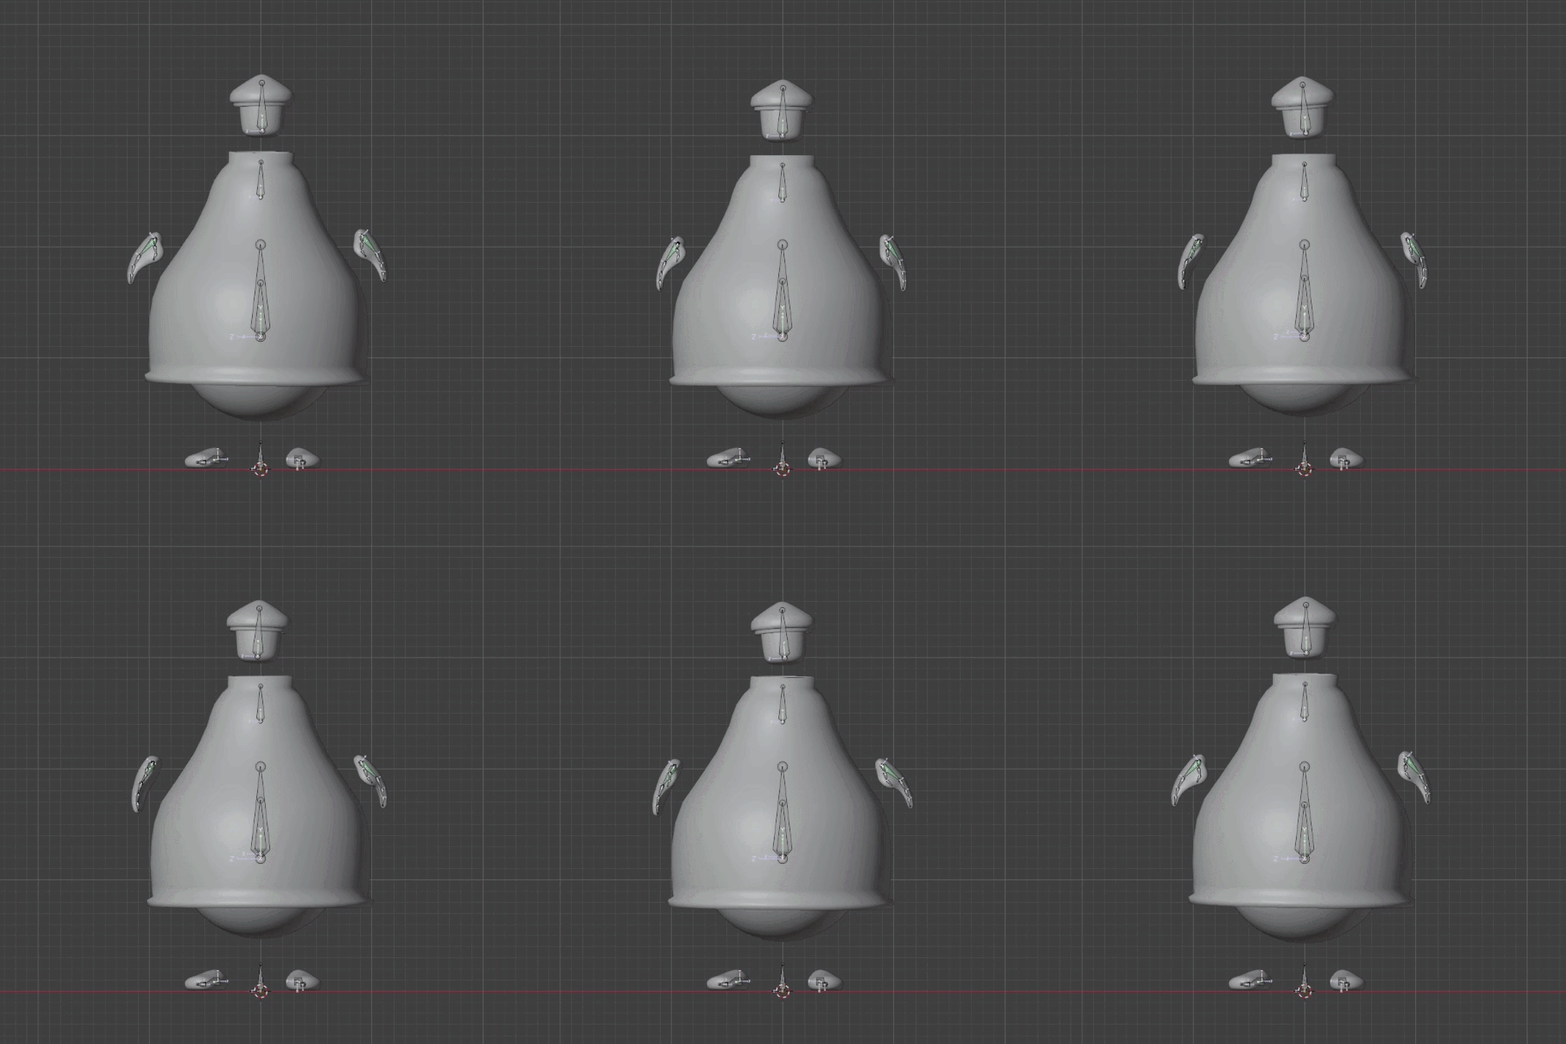
The next step was to export everything from Blender and import it into Unreal Engine so we could apply the animations to the character. And when I say “we”, I mean the group’s programmer and myself. After being stubborn and insisting on programming for the better part of the entire first school year for multiple solo and group projects, I ultimately came to the conclusion that it’s not a discipline or role for me. I’ll learn it enough to be able to animate a character in-engine, but there’ll be limits beyond that.
So, in other words, the programmer did the heavy lifting with the implementation of the animations, while I worked on some of the details like “foot sliding” or “drifting” once it was done.
The preparation that went into the animations beforehand luckily meant that Unreal had little to no issues understanding what was what about the character when importing everything. There were a few hiccups with the bones initially, particularly the addition of bones that were never there, but after some quick research, it turned out to be an easy fix.
Above is a short capture of the character moving around in the environment with the animations implemented. You can also catch a glimpse of the enemy character (created by another group member) at the end with a few animations I did for it.
NOTES
WORKFLOW
FINAL THOUGHTS
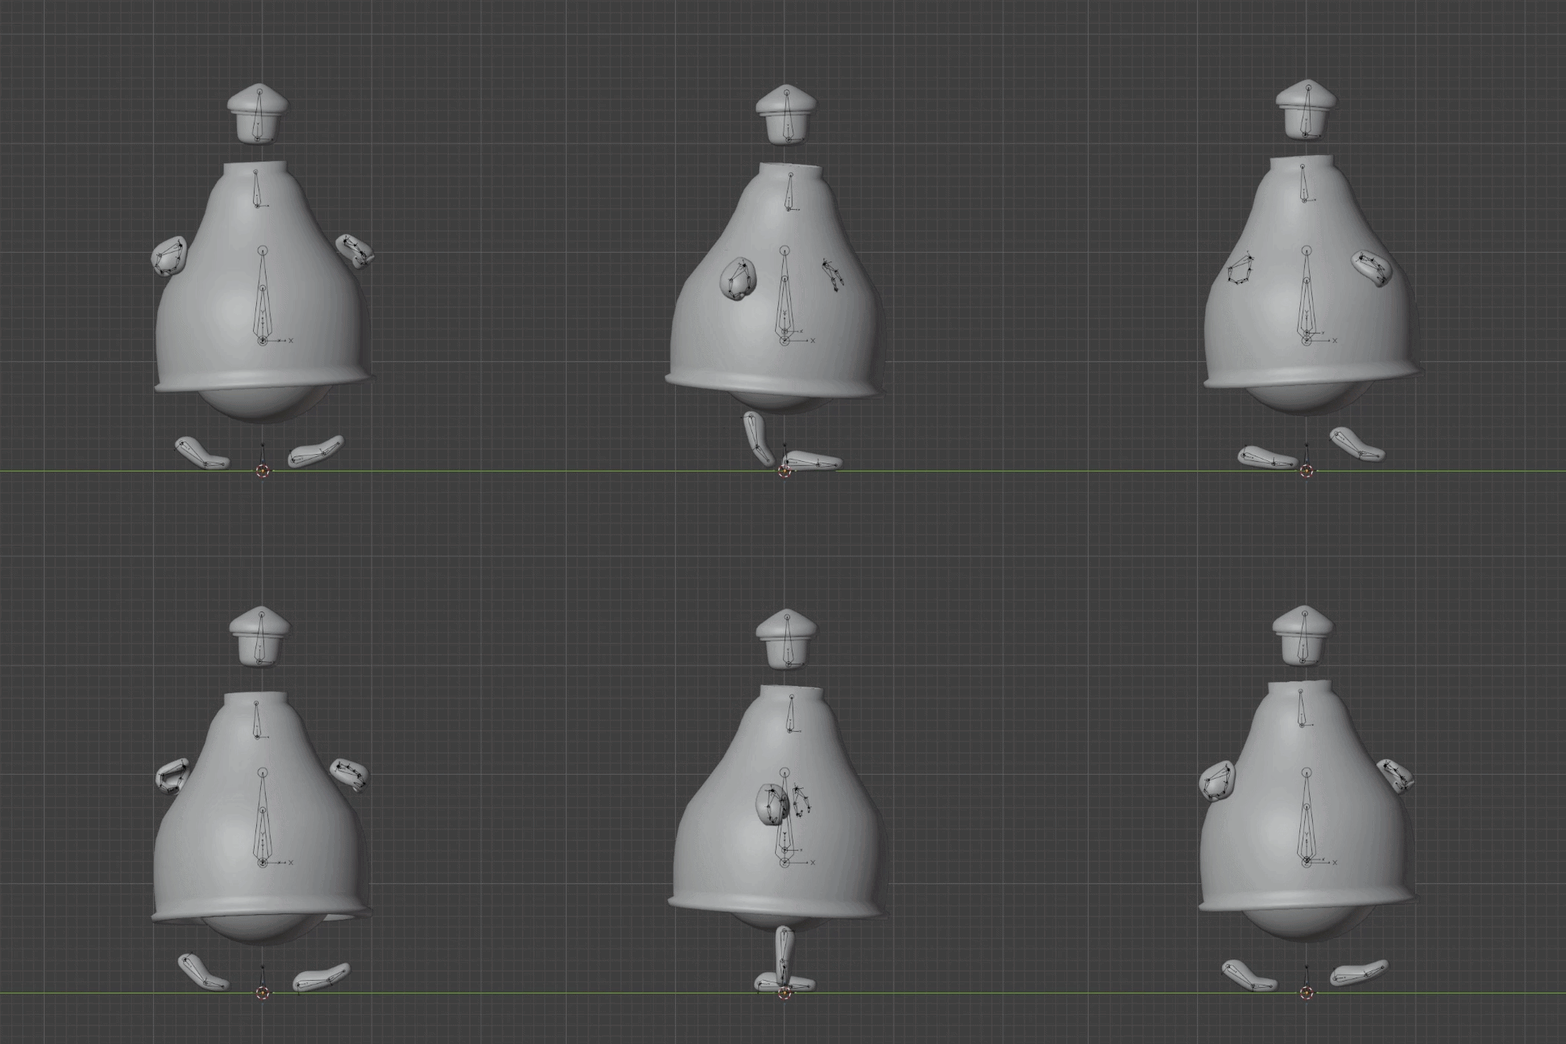
Pictured below is a screenshot of what my workspace in Blender looked like. The reason I’m highlighting this is because for the first two weeks, I was only using one viewport. It meant that I constantly had to switch, pan, rotate and reposition the camera to get the right angle for whatever pose I was working on. At the time, I didn’t know any better, I had no point of reference of what an efficient workspace for animation was, but after looking up some guides and tutorials, I stumble upon this alternative and thought I’d give it a try.
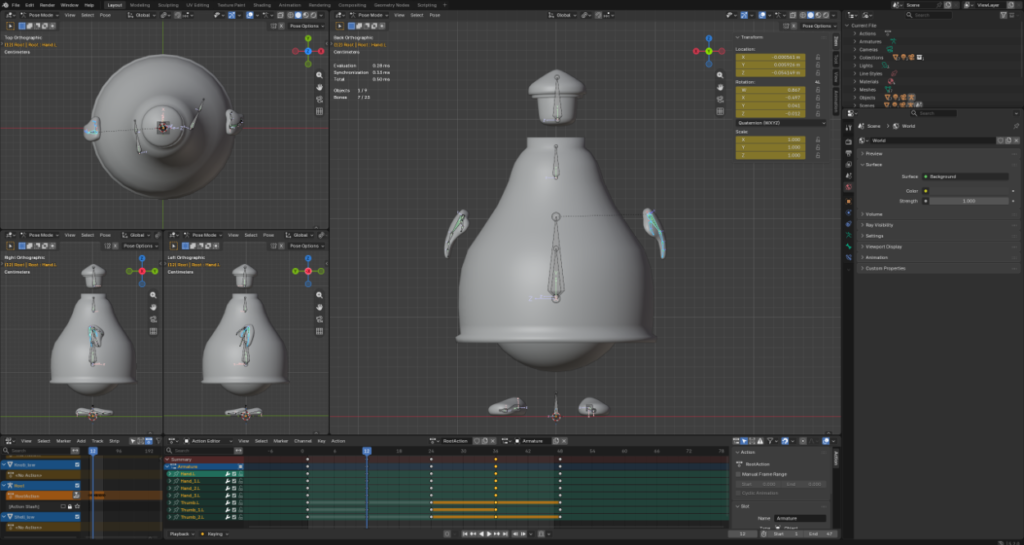
While the addition of three smaller viewports isn’t a big change in of itself, the impact it had on my workflow was significant. Having an almost 360 degrees view of the character at all times meant that any big or small changes I had to make, I could just quickly switch working between the multiple viewports and get it done quicker and more efficient than before.
Now, is this an optimal setup? I don’t know, my lack of experience at this point in time stops me from saying otherwise. But I do know that, going forward, this is what I’m starting with.
An important thing of note is the fact that I was able to skip certain steps in the creation of this character, just because of the nature of it. It doesn’t have soft spots except for the hands and feet, it’s mostly a hard shell, which meant the initial mesh was enough to get working on the animations. There was never a need for sculpting, retopology or weight painting, so I’ll have to make those part of the process for the next character.
As I mentioned in the beginning, every step of the process I talked about here was a first, and they all had their own set of challenges. But that’s to be expected, I’d imagine. Some things worked, some didn’t. Some broke and issues appeared along the way. Some were fixed and some I needed more time to correct. You don’t know, so you learn… it’s a process.
You can read more about this in a sessions note I wrote if you want a little bit extra insight with some added personal details, should you be curious about it.